DIY Fall Decor: “Thankful” Flag Banner

How many of you love to decorate for the seasons, but don’t have much extra to spend on decor? Or maybe would just rather add that personal touch and make them yourself? I know I definitely fall into the first category, and usually into the second as well. I would love to have that wonderfully decorated, Pintrest-ready home, but I definitely don’t have the funds for that!

I try to get inspiration from a lot of places, and I’ve seen DIY burlap banners many times. When I wanted to make a fall banner like the ones I had seen, I didn’t have any burlap, but those are definitely what inspired this piece.

Continue on to see how I created a beautiful fall banner with only materials I had on hand!

DSCN0976
On the top, I measured out a dot every 4 inches. On the bottom, I first measured 2 inches in, then followed by measuring every 4 inches again. This allowed for roughly the same size and nice looking triangles.
DSCN0977
My 8 triangles after I cut them!
DSCN0979
Using a hot glue gun, I stretched deep purple fabric over the triangles. I glued down the long sides first and finished with the top. trimming the backs once I was done.
DSCN0980
Stencils were used to create the letters in bright red scrapbooking paper. I found another piece of scrapping paper that had a fall-colored lined design for the circles. I think they look pretty nice together! I was thrilled when I refound that circle cutter in my scrapbooking supplies too! I had completely forgot about it and it made cutting the circles so much easier!
DSCN0982
After lining them all up, I glued each set one by one. It took me a bit to figure out how to make sure the lines stayed where I wanted. I ended up holding the paper steady, turning them over and then tracing the triangle on the back of the circle. This allowed me to glue along the drawn lines, which kept the lines where I wanted them on the triangles!
DSCN0983
After tying a loop on the end of the twine, I glued it on to each corner of the triangle. This was probably the quickest part of this process!

DSCN0984

DSCN0986
The finished product!

I really like how this turned out! I think I’m going to make a smaller one for the doorway, but I’m not sure what I want it to say yet. Any ideas?

Have you made any of your decor this year? Tried any new projects?

Spray Painted Tray: Adding a Pop of Color to Your Decor!

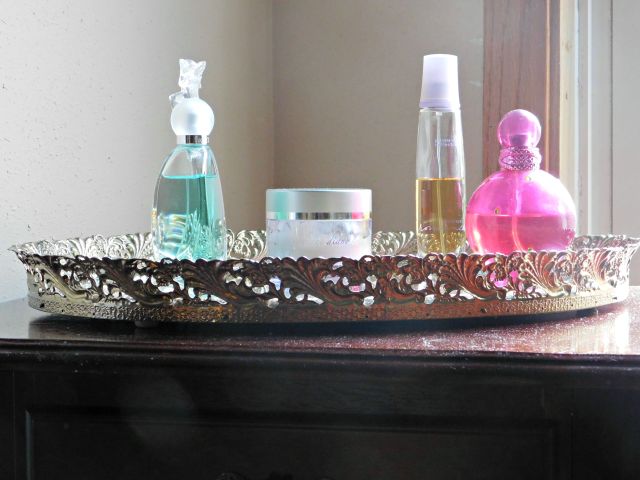
Hey everyone! Do you like having a pretty display tray for your perfume, jewelry, or other such items? I know I do! I’ve had one tray for years for just that. I don’t remember where I got it, but I ended up putting it on top of my jewelry armoire and used it to corral my then-larger perfume collection. I’ve since pared that down quite a bit, but I still love that tray!

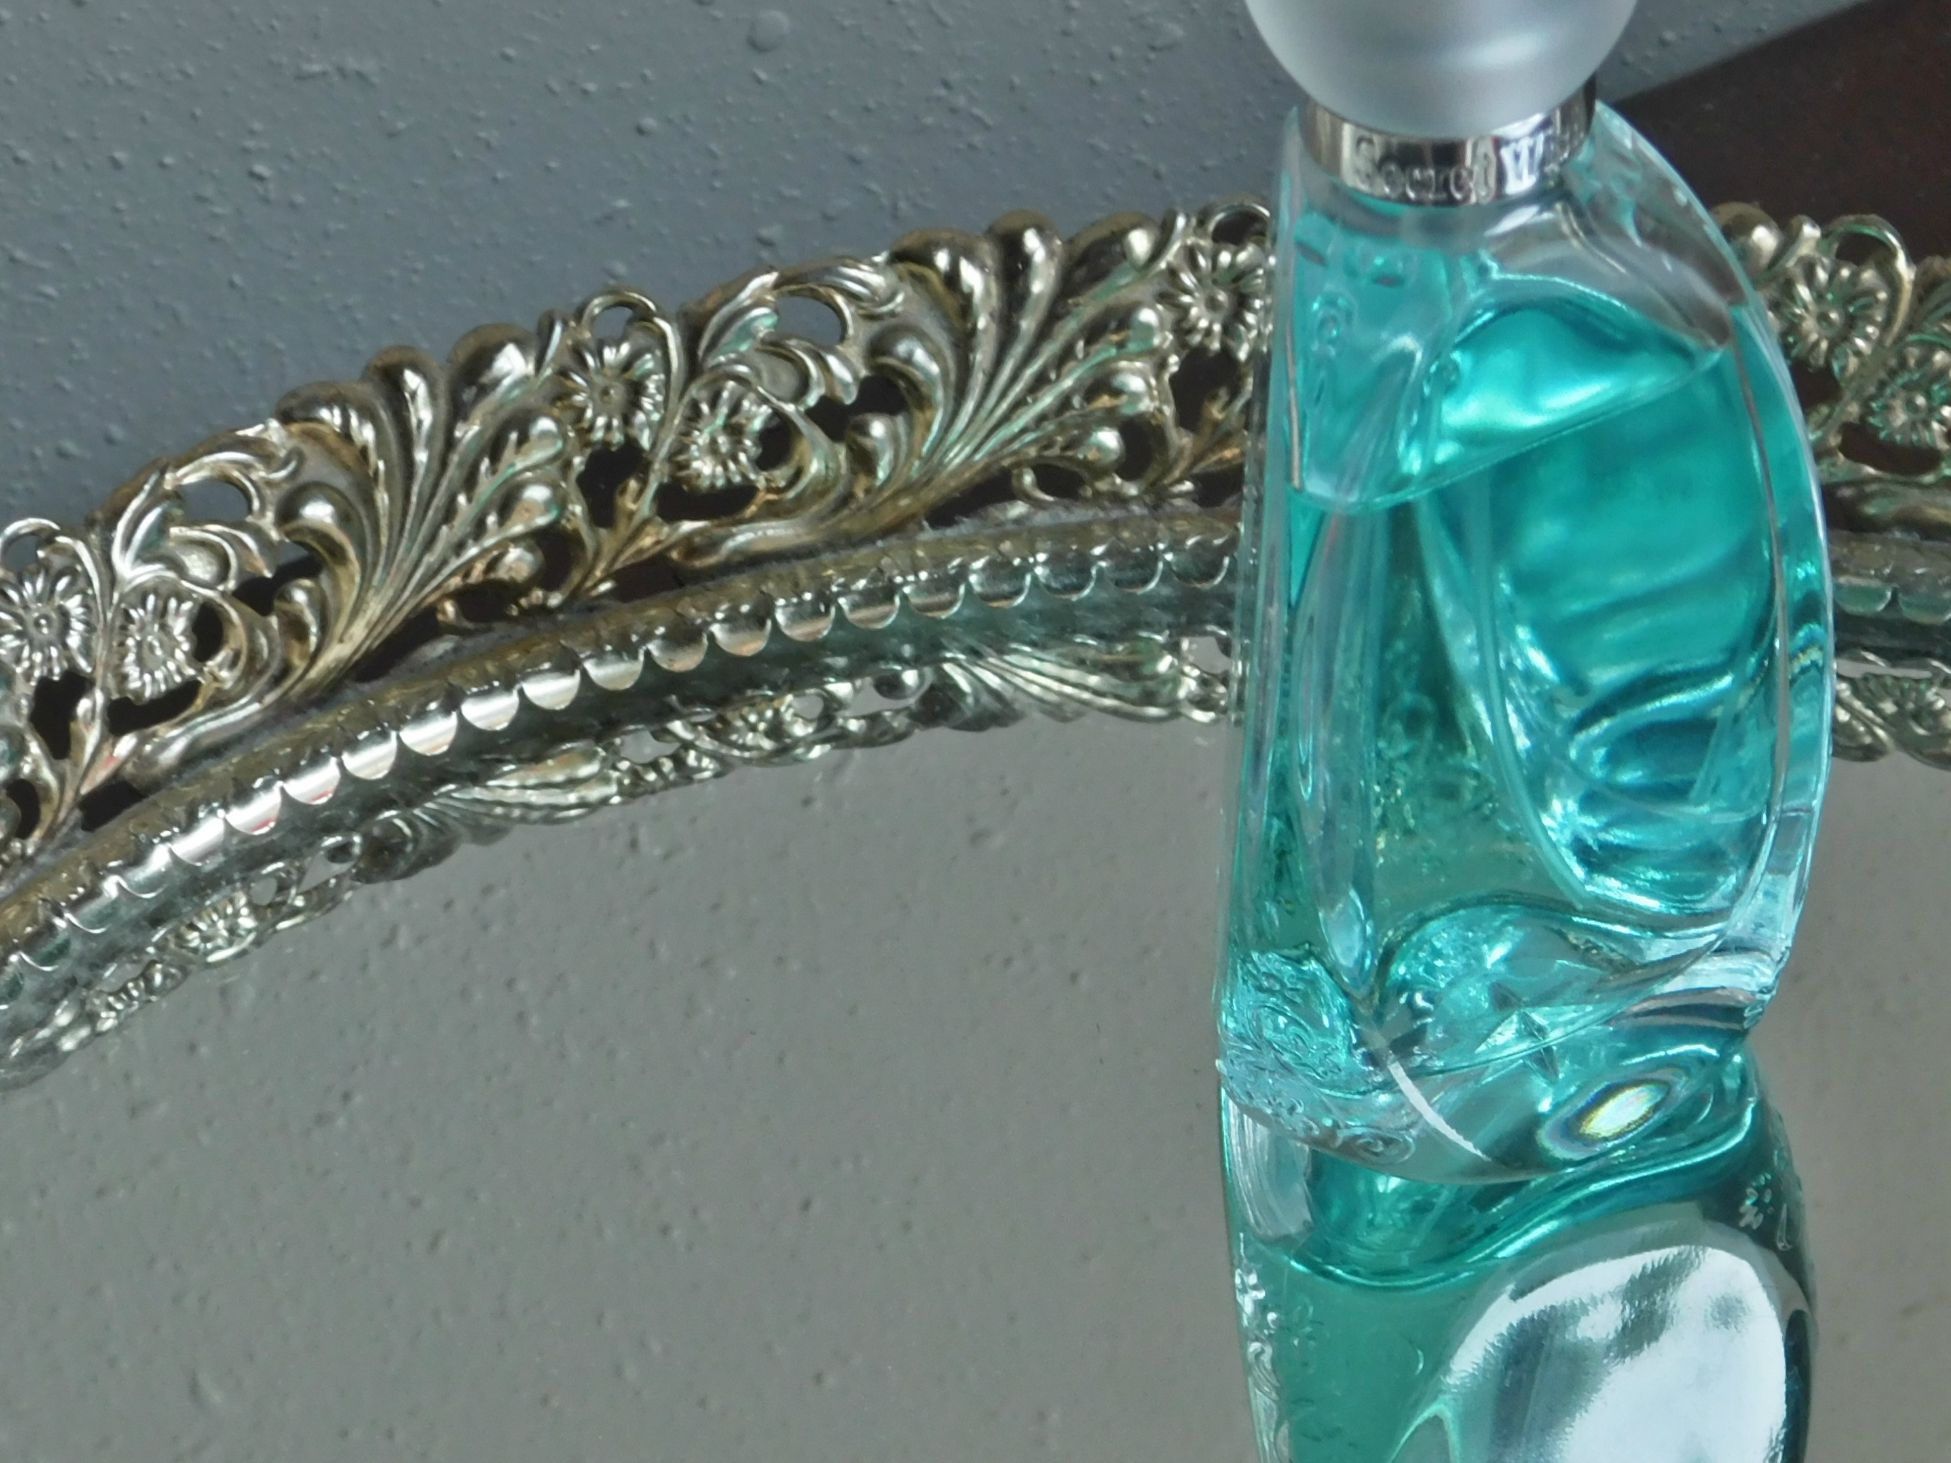
Well, mostly love that tray. I do love having a decorative glass tray, and the design of the tray is pretty. What I don’t love so much: the color. It’s this kinda off-gold, weird metal color.

DSCN0827_picmonkeyed

See!? Not the prettiest color, or at least not my preferred color. It looks silver-ish in some light, off-gold in others, but never very pretty. Anyone have any idea what color I could call this?

DSCN0832_picmonkeyed

DSCN0835_picmonkeyed

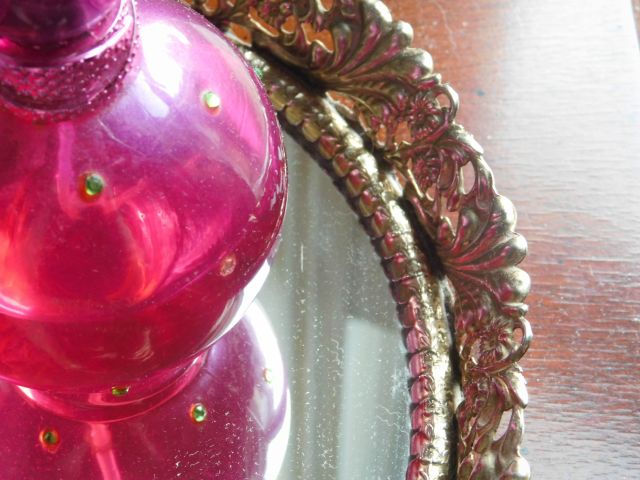
Not only am I not fond of the color, but it definitely doesn’t go with the planned colors for our closet remodel (currently underway)!

Enter spray paint! I seriously have a new-found love for spray paint and all of the awesome things it can do. In this case, purple spray paint! DSCN0860_picmonkeyed 
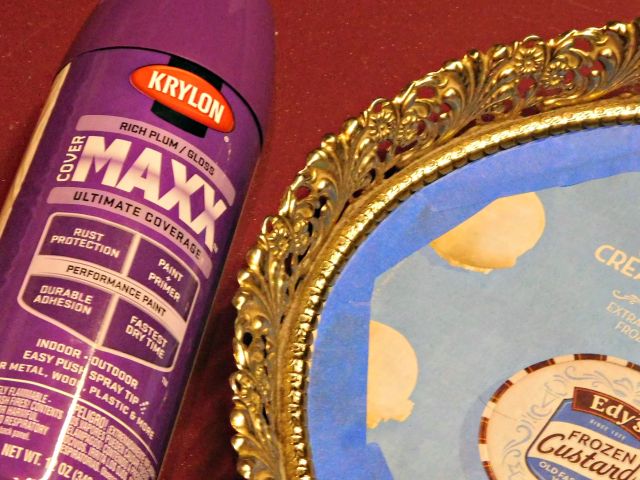
But I’m getting ahead of myself…

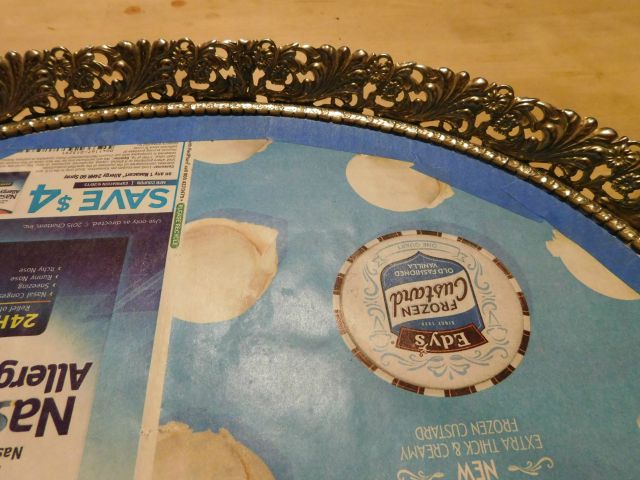
So before painting, it’s important to tape off any areas that you don’t want the spray paint to, well, paint. I wanted to make sure that I got a good seal on the glass right up to the edge, so I started off with the tape actually over the edge and pressed it into the edge.

DSCN0856_picmonkeyed

I then took an Exacto knife and cut off the excess tape.

DSCN0857_picmonkeyed

And we are caught back up! Ok, so now that both glass and base (not pictured) are taped off, it’s time to spray paint with that lovely purple color!

DSCN0860_picmonkeyed

Since the sides of the tray are angled outwards, I sprayed the inside edge first and let it dry. Then I flipped the tray over and painted the outer edge. And it’s done! This really is a quick and simple fix that made such a big impact!

DSCN0867_picmonkeyed

DSCN0873_picmonkeyed

I love it! The color is so fun and really adds that pop of color that I’m looking for! I can’t wait til I can show you the whole closet remodel, but I think it is going to look great!

What do you think? Have you used spray paint to change a liked item into a loved item? I would love to hear what neat projects you have used it on!

DIY Spring Wreath

Hey all! I’ve got a quick and easy DIY spring decor project that I think you are going to love! I know I do!

Decorating for the seasons is something I only just started really doing in the last year or so. It’s something I always wanted to do more of….it just has a way of making a house feel more homey to me. Growing up, my mom would always pull out the seasonal decor as soon as she possibly could when the season started changing. Each room throughout the house would get at least a few touches and the house always was warm, inviting and beautiful. I never really thought much about how the decor played a part in that until I moved out, but she put so much effort into making our house into a lovely home. Now she is my inspiration in many ways, and was the motivation for me creating this wreath! Continue reading “DIY Spring Wreath”