Decorating the home can be difficult, trying to balance between bringing in your own personality and managing costs. One way I have found to do this is buying things that are basic and inexpensive and then adding my own personality to the item.
Now I am by no means a decorating guru! I am still feeling my way through this journey as my dad and I remodel this house, and this project is just one of the many steps on that journey!
This is not the first time I have done glass etching, but this is the first time that I have made my own stencils for it. At least, it’s the first time I have made them successfully 🙂 I am thrilled with the results!
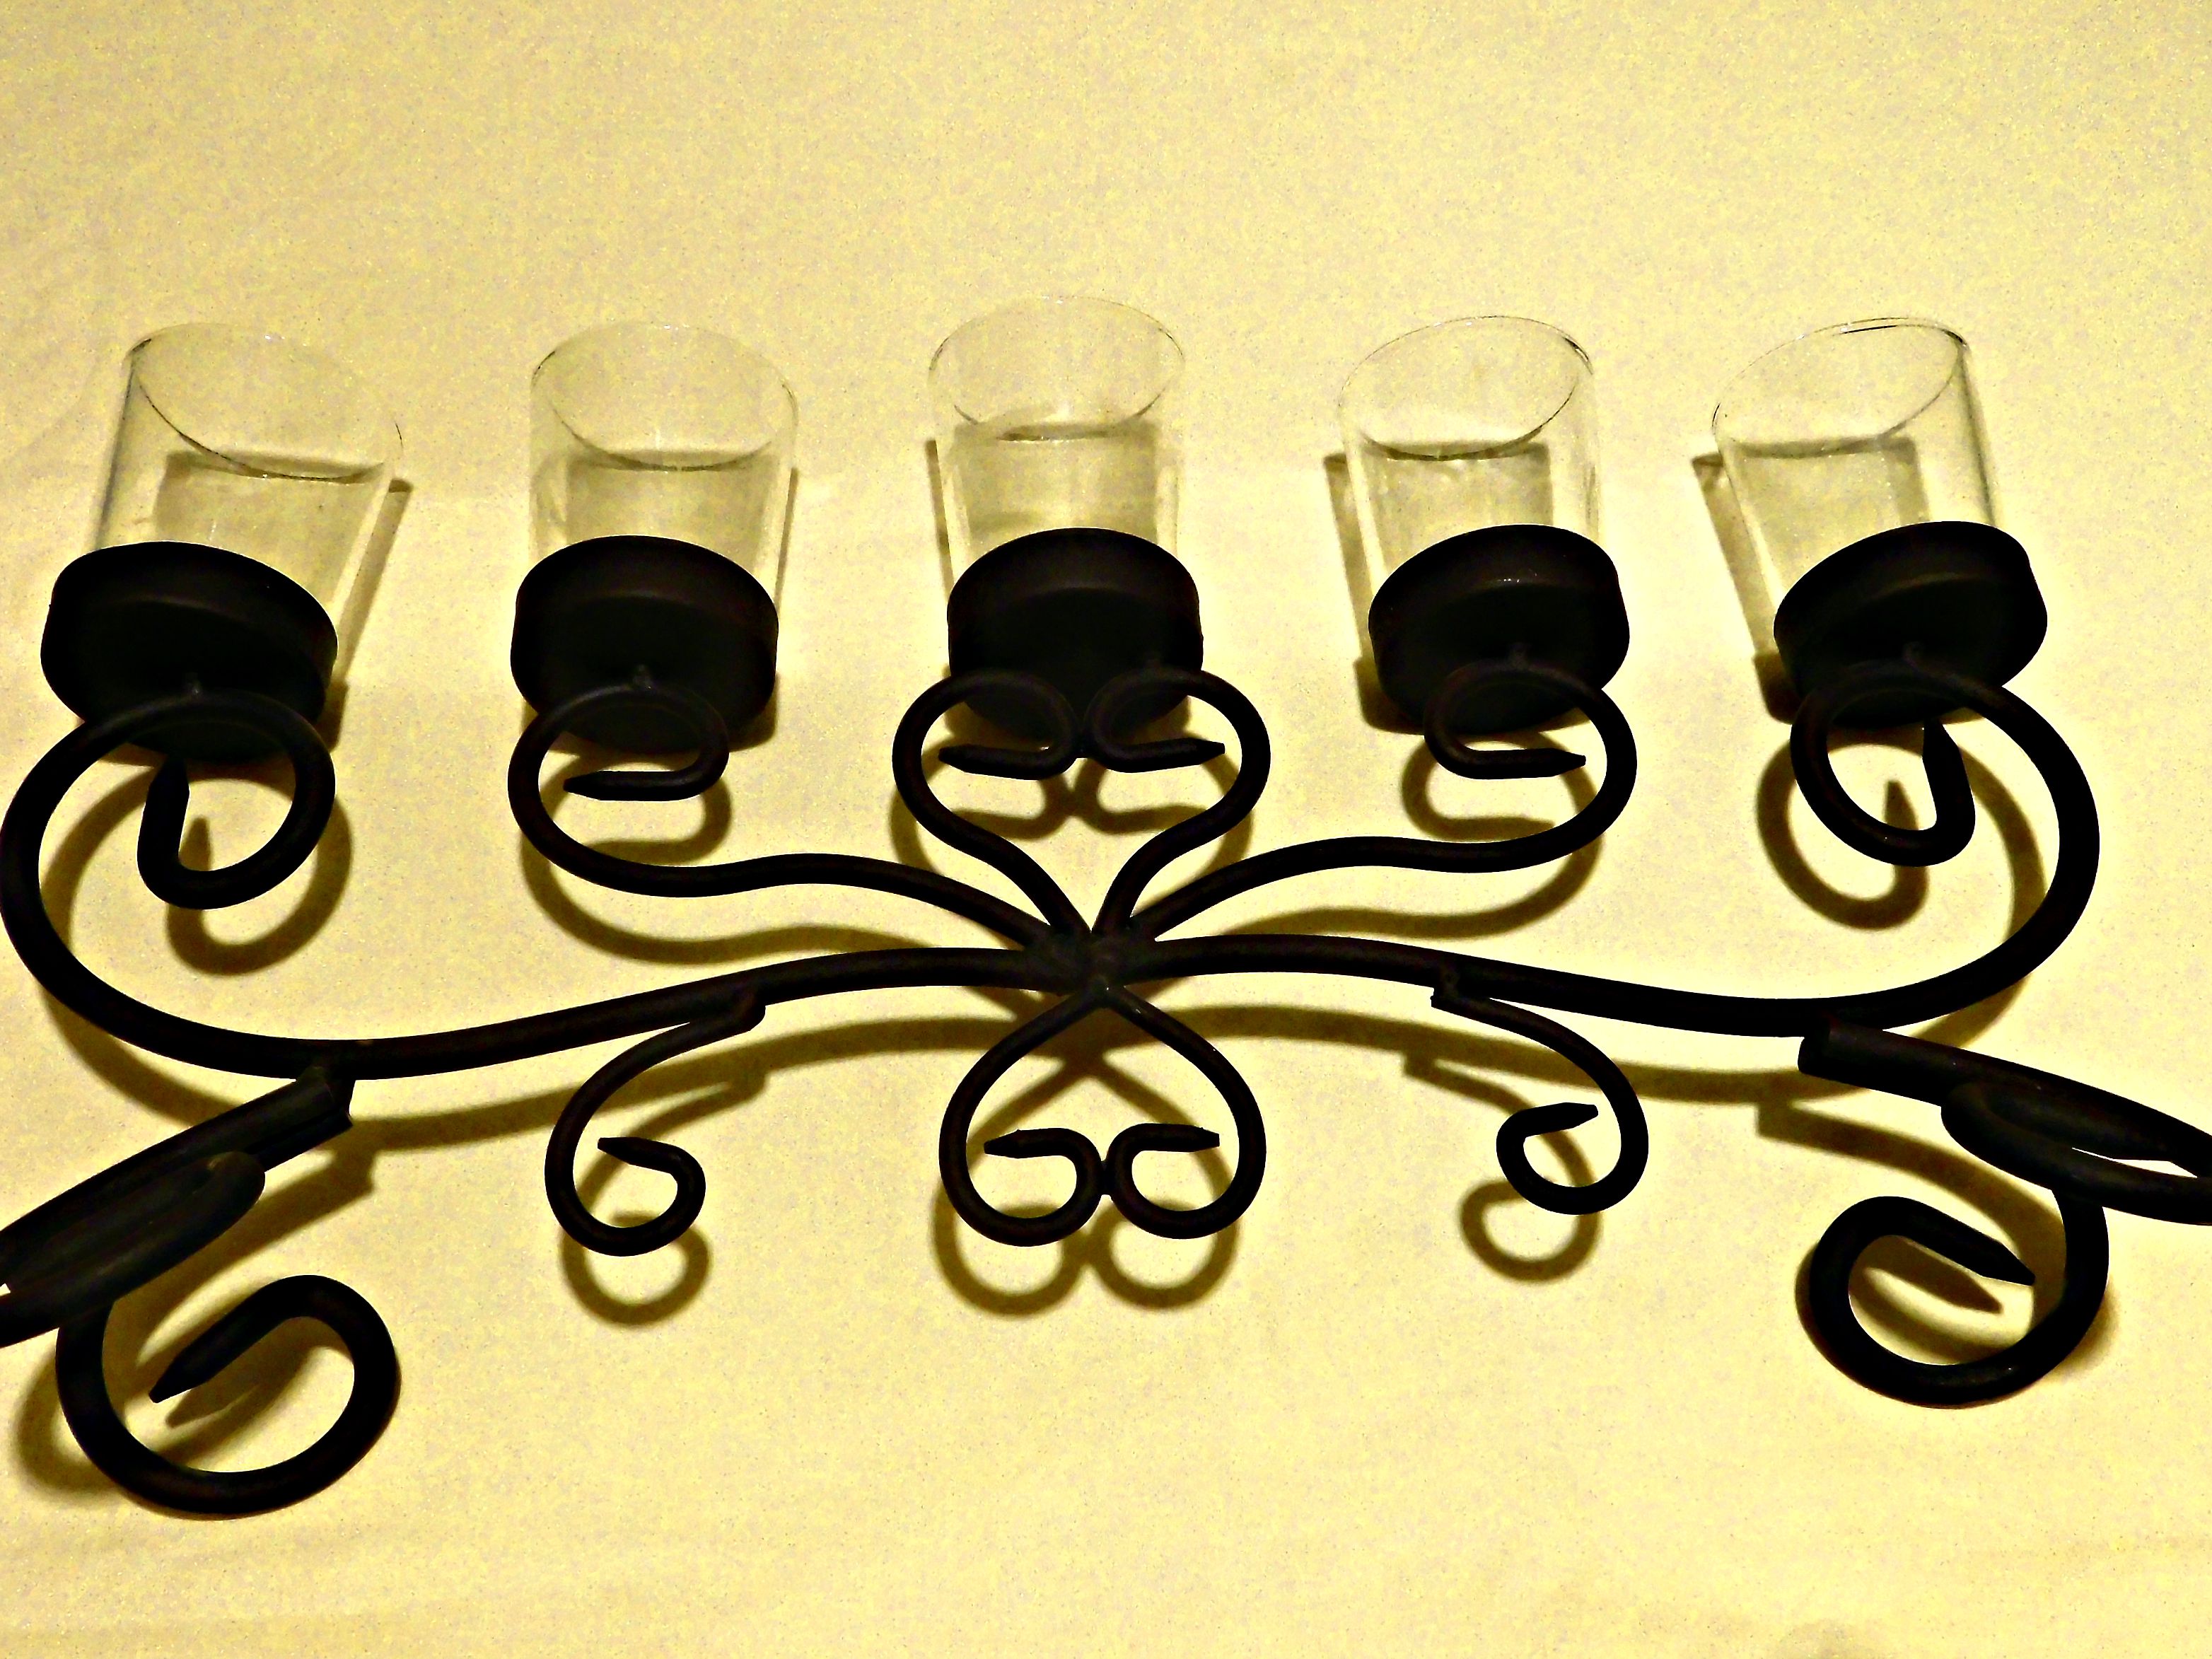
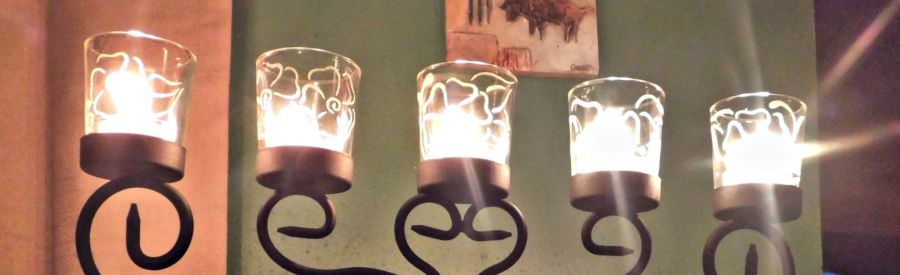
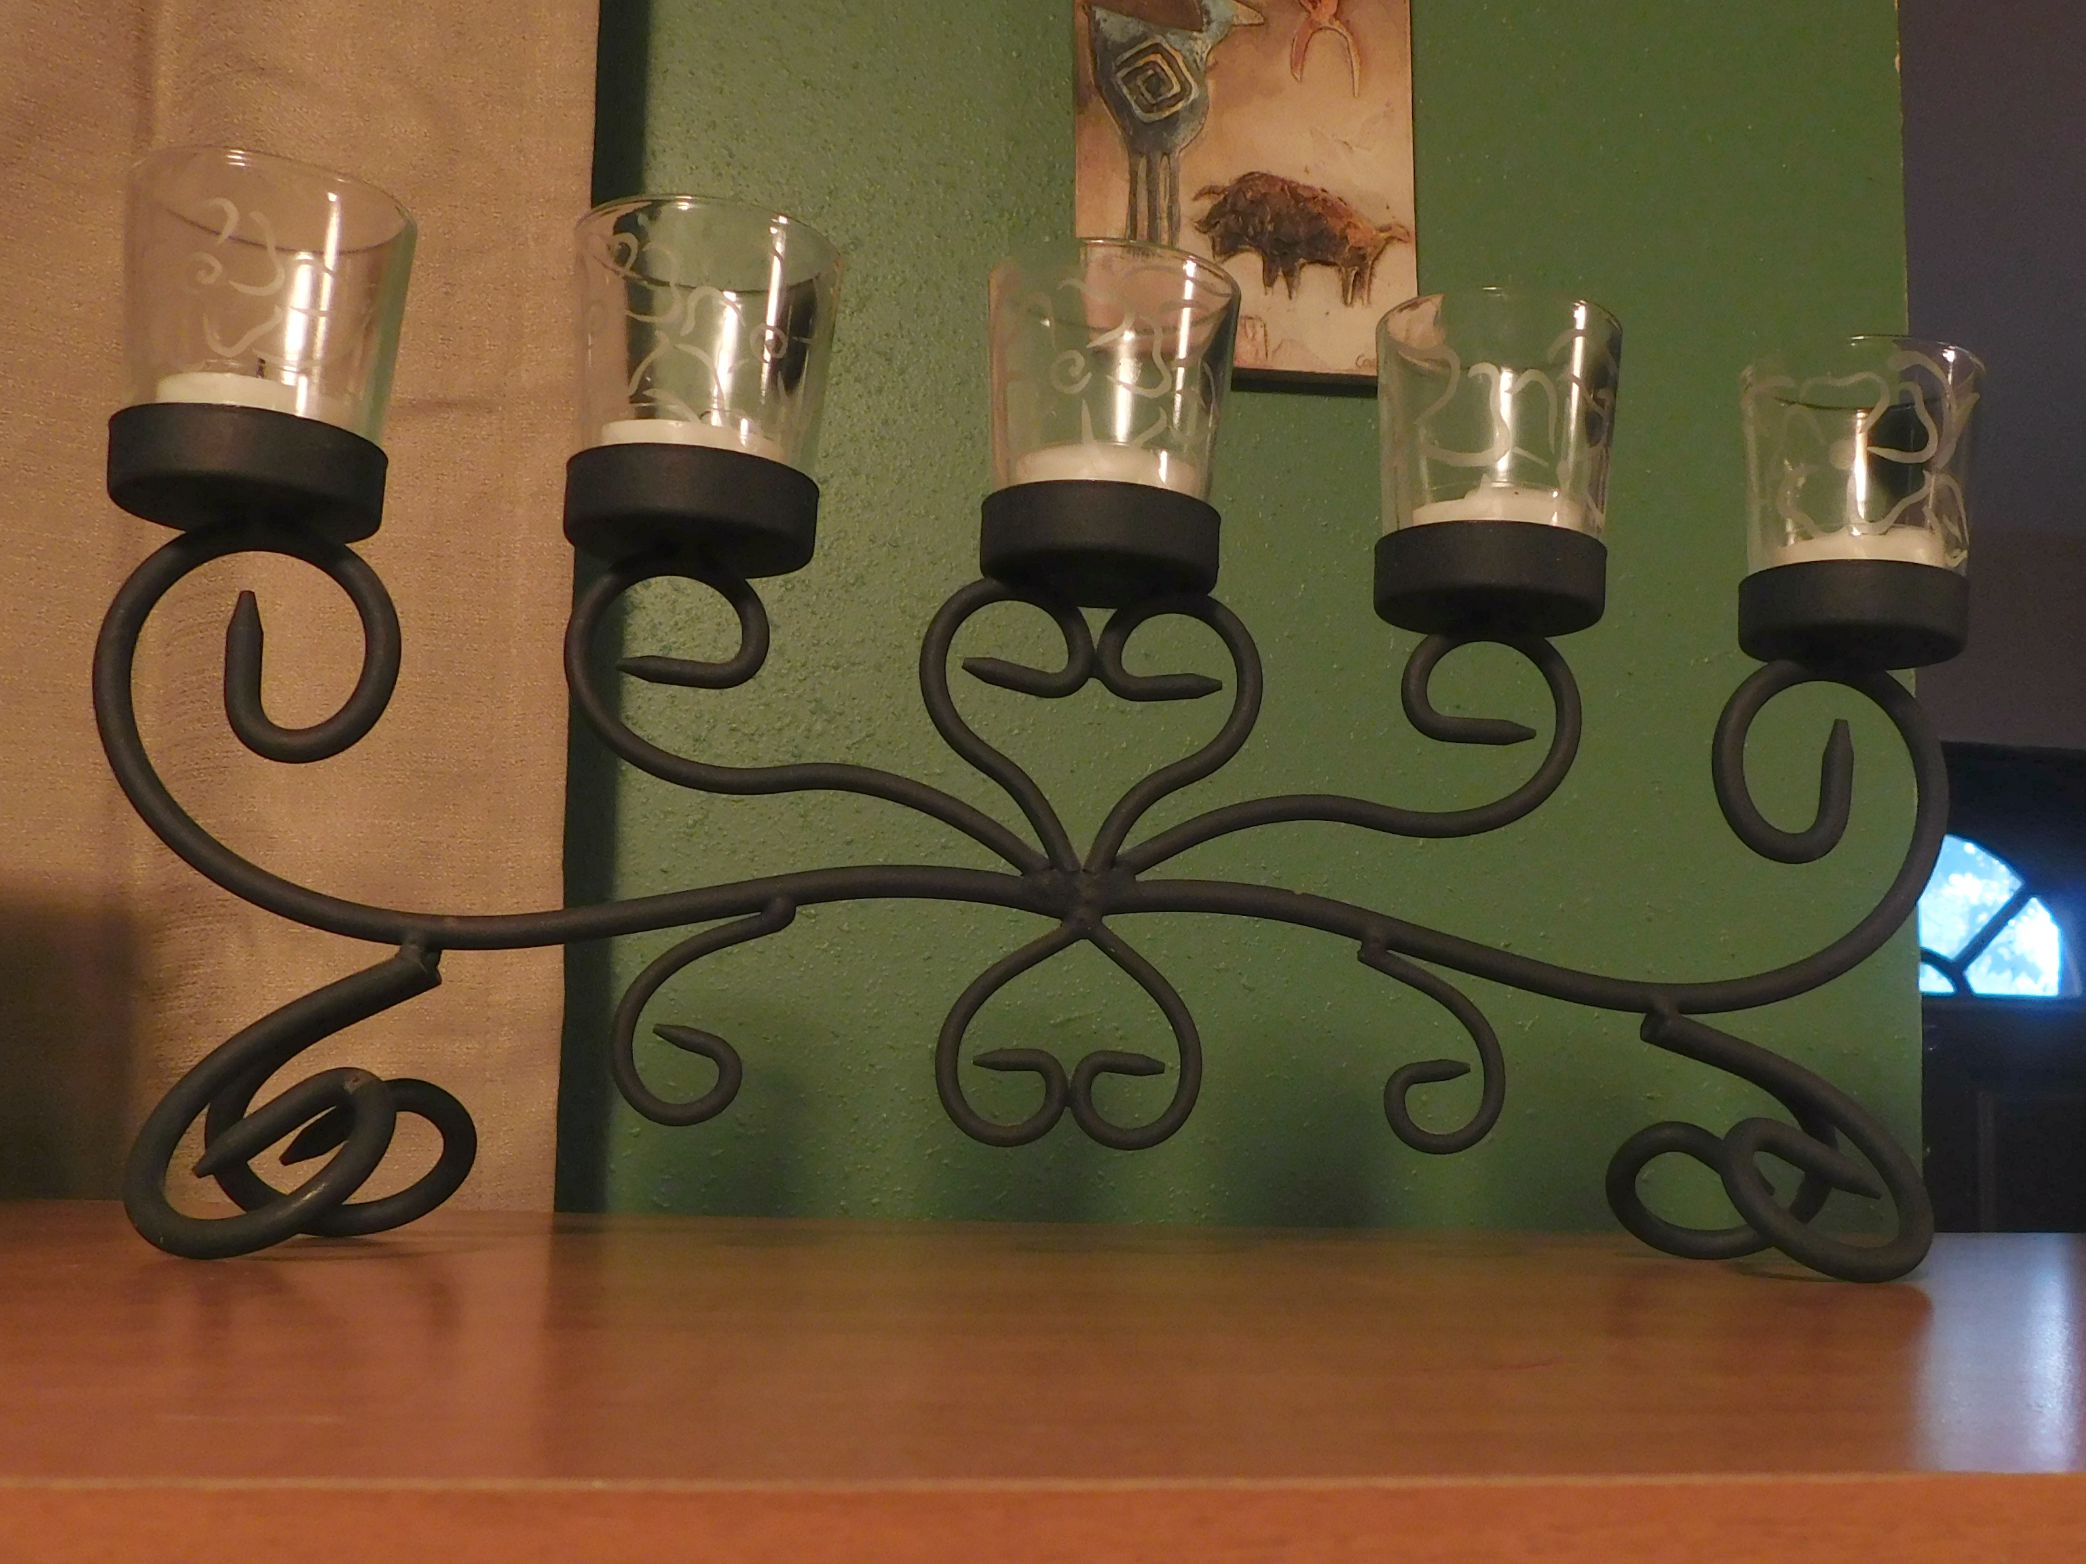
I couldn’t seem to get a very good picture of this, but hopefully you get the idea! I have actually had this candle holder for quite a long time, but I finally decided to play with it some and make it my own. I knew I wanted to do glass etching, but there are very few style options in pre-made stencils. So I decided to make my own! Using a roll of Magic Cover Clear Transparent vinyl (like this one), I sketched out a few designs. It took a few practice attempts before I had any success at transferring a stencil to glass, but it’s all part of the learning process! I will detail out some of the difficulties as we go.
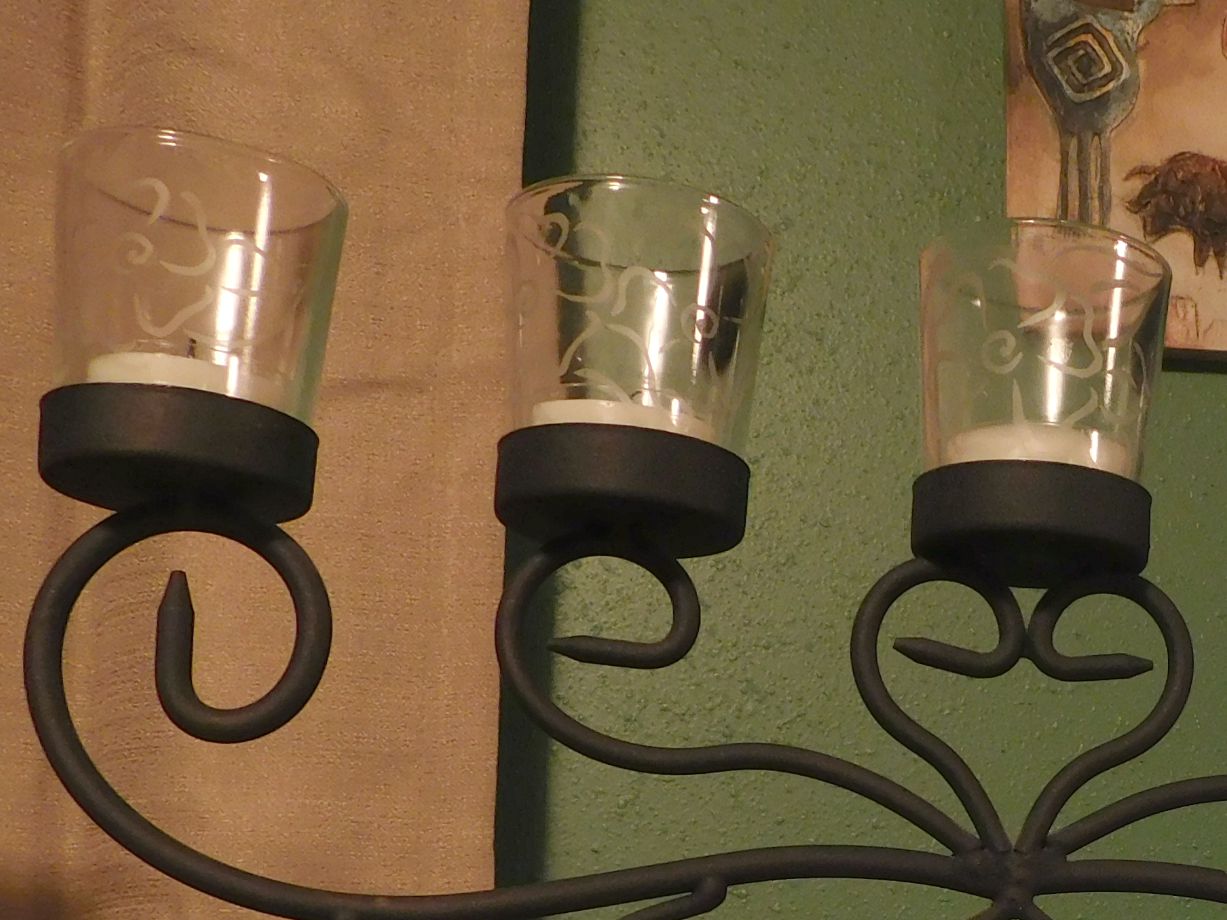
As for the designs, I really like the flowing feeling of the scrollwork and wanted to mimic that in my designs for the glass holders. And you may have noticed that I enjoy floral, henna-inspired designs.
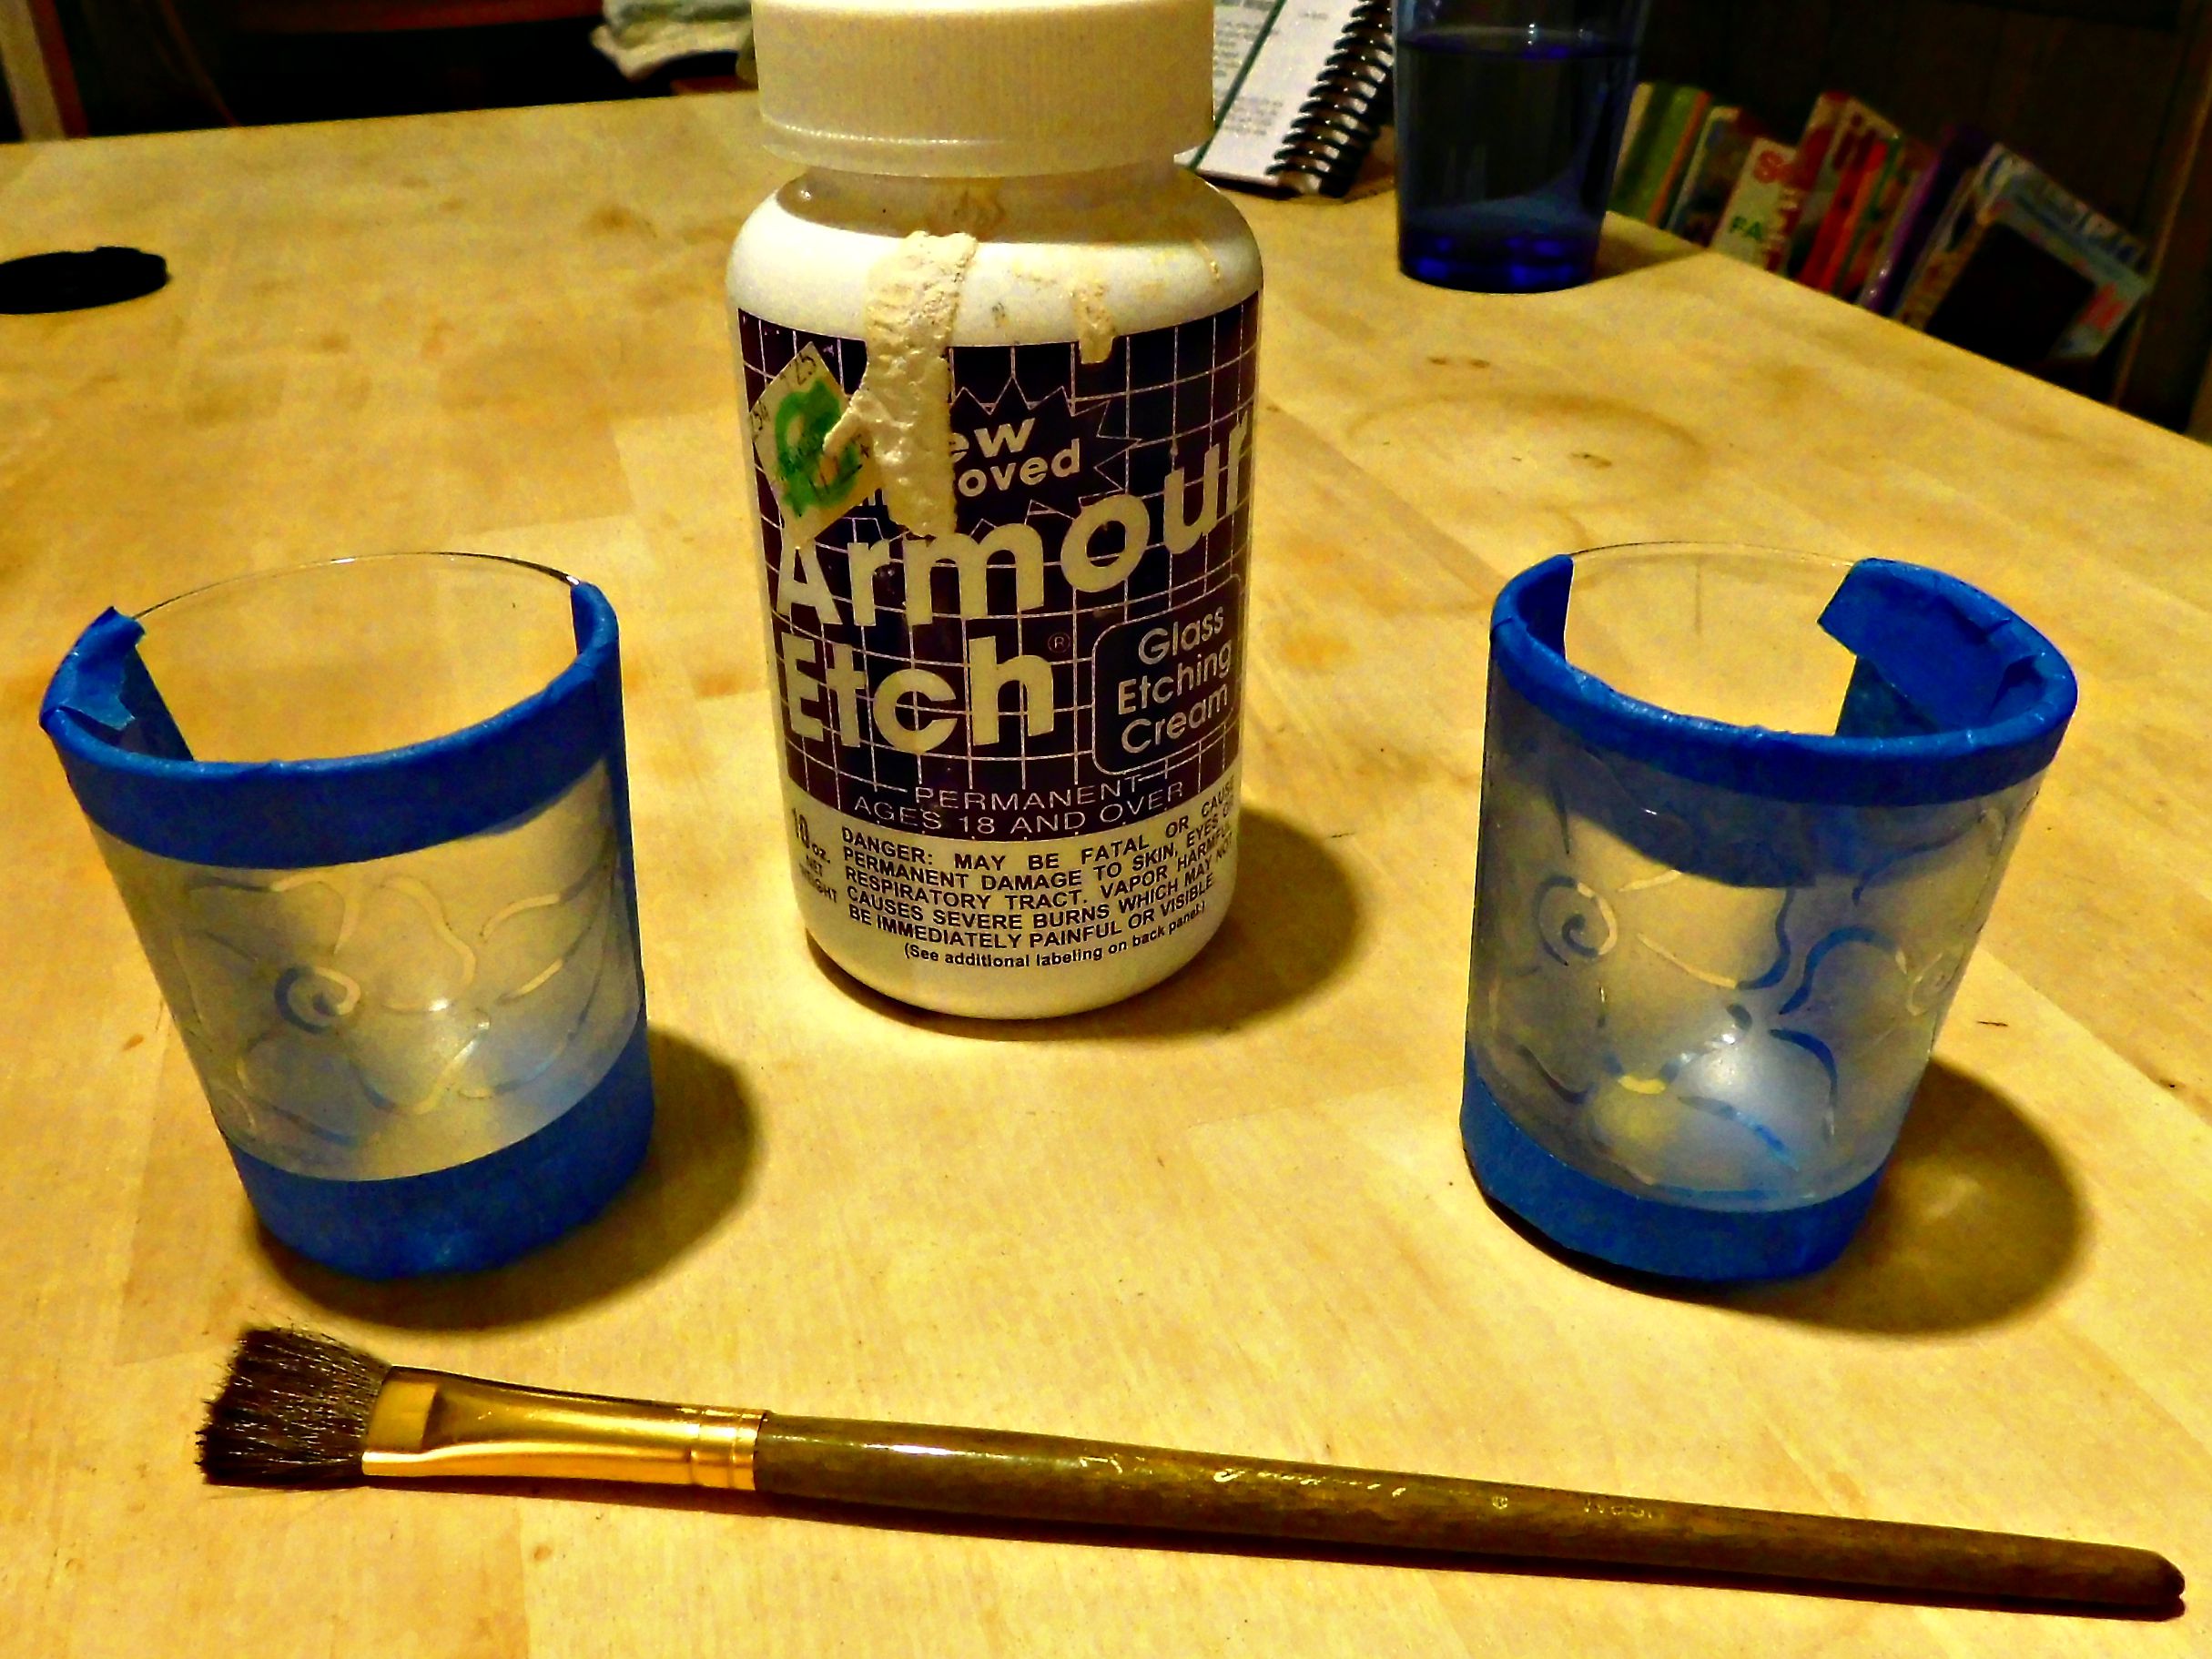
I only took pictures of two out of the five while they were in progress, but they all looked pretty similar. This is the part that I had some difficulty with is earlier practice pieces.
The first attempt was one a spare wine glass. After sketching out a simple floral design, I cut out the design and then tried to transfer it to the glass. It would not line up, no matter what I did! I figured it was the curve of the wine glass, called it a learning experience and moved on. I then tried another practice design on a straight glass and had the same problem.
Overall, both of these practice attempts showed that to successfully transfer the design, I had to apply the vinyl to the glass after I sketched it but before cutting it out. Once I learned this lesson, it worked much better!
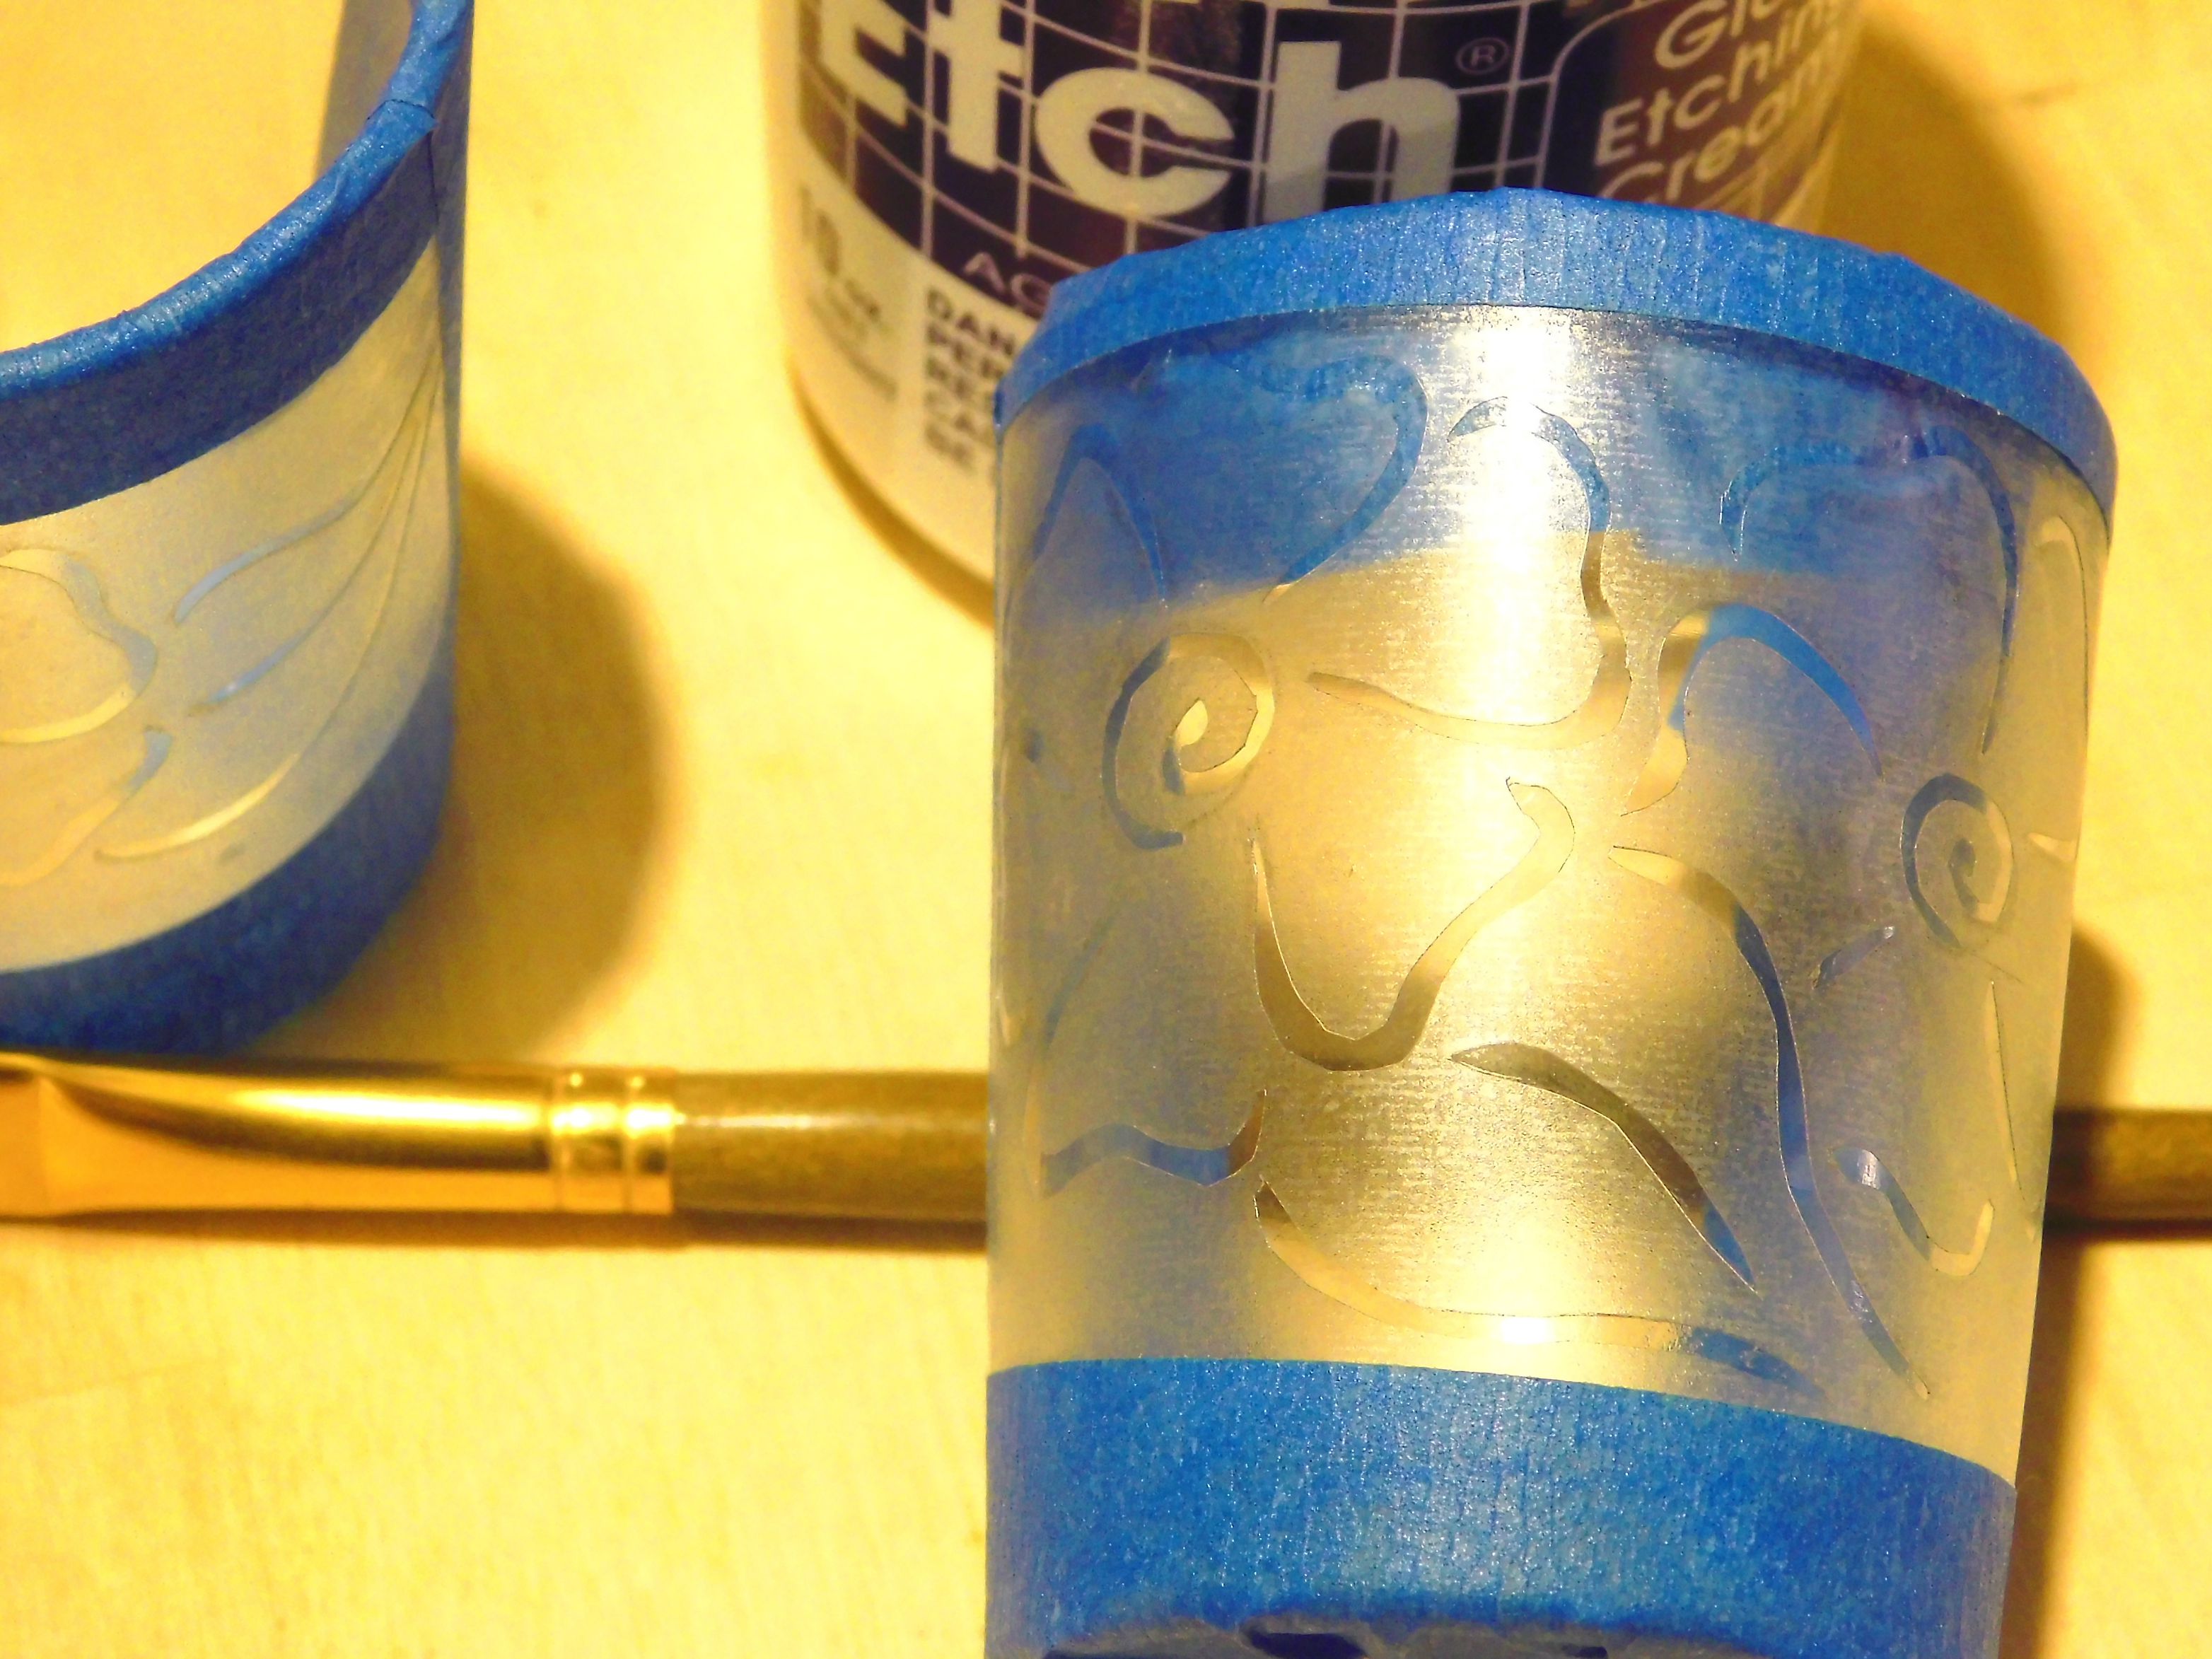
After cutting out the design, I applied a coat of the Armour Etch with the paintbrush. While the directions on the bottle say 5 minutes for custom stencils, I found that leaving the Armour Etch for closer to 7 minutes seemed to work a little better.
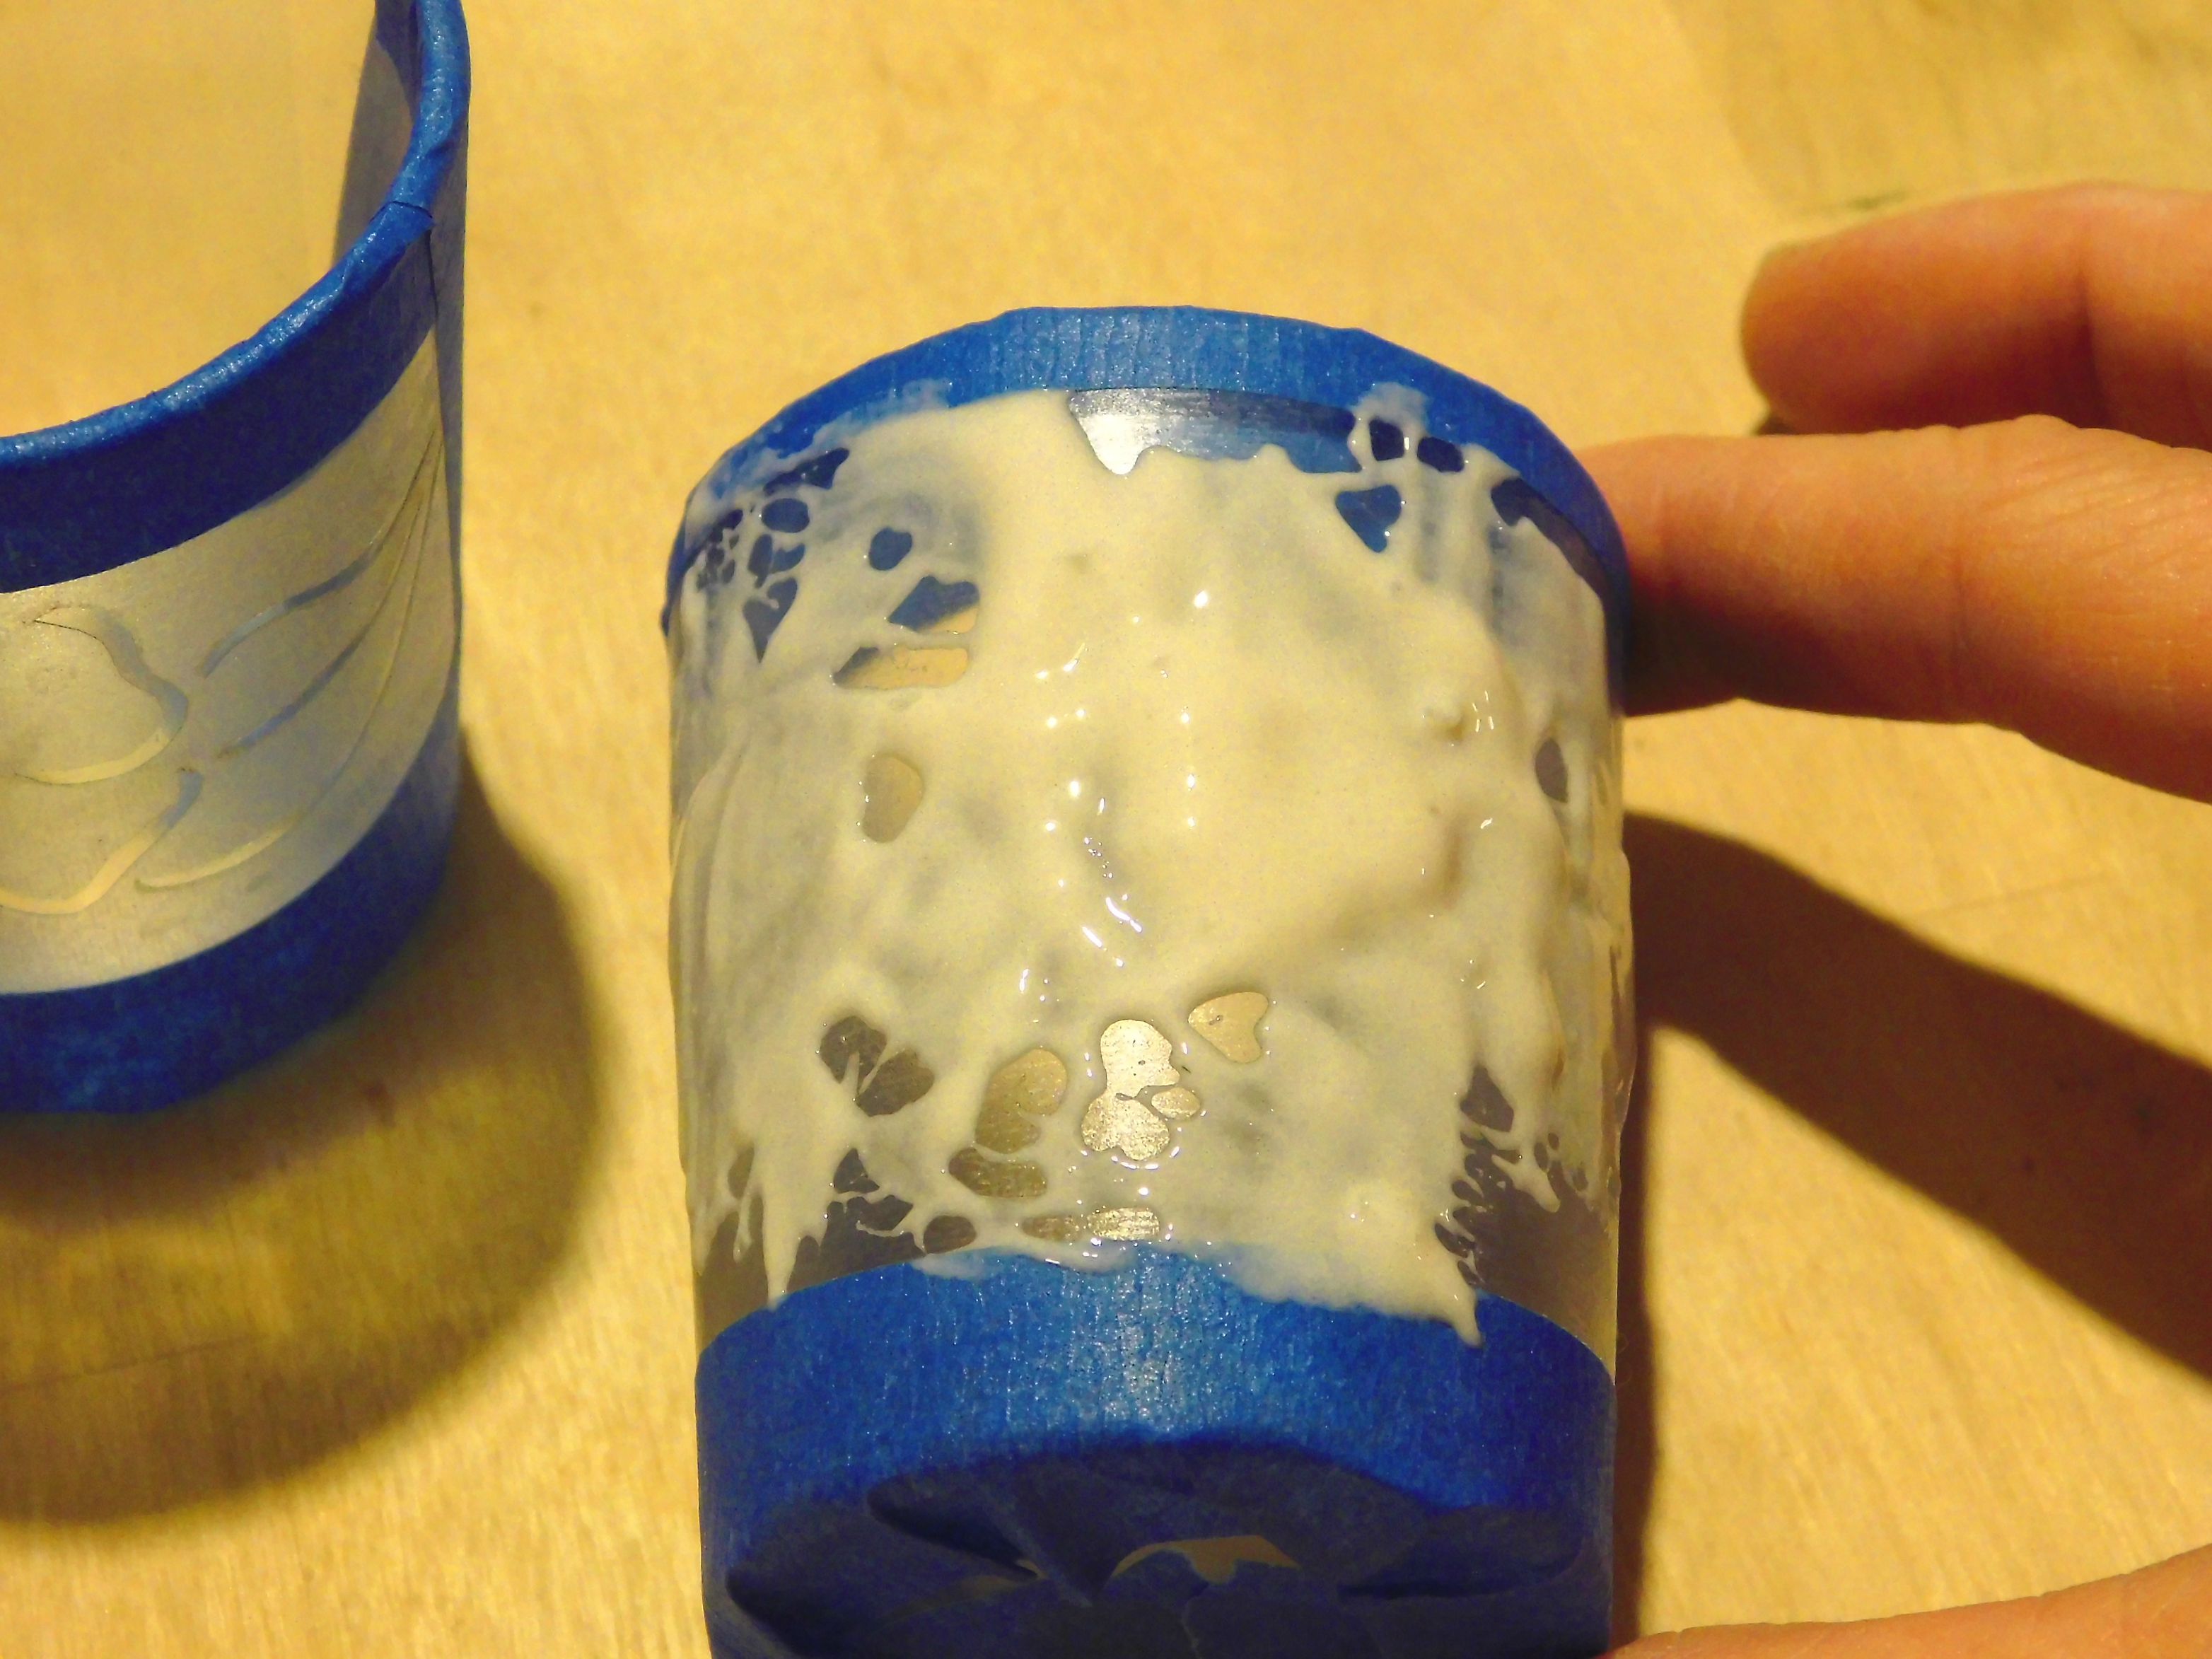
Once the 7 minutes was up, I washed the Armour Etch off, removed the vinyl and wiped down the glass with a paper towel.
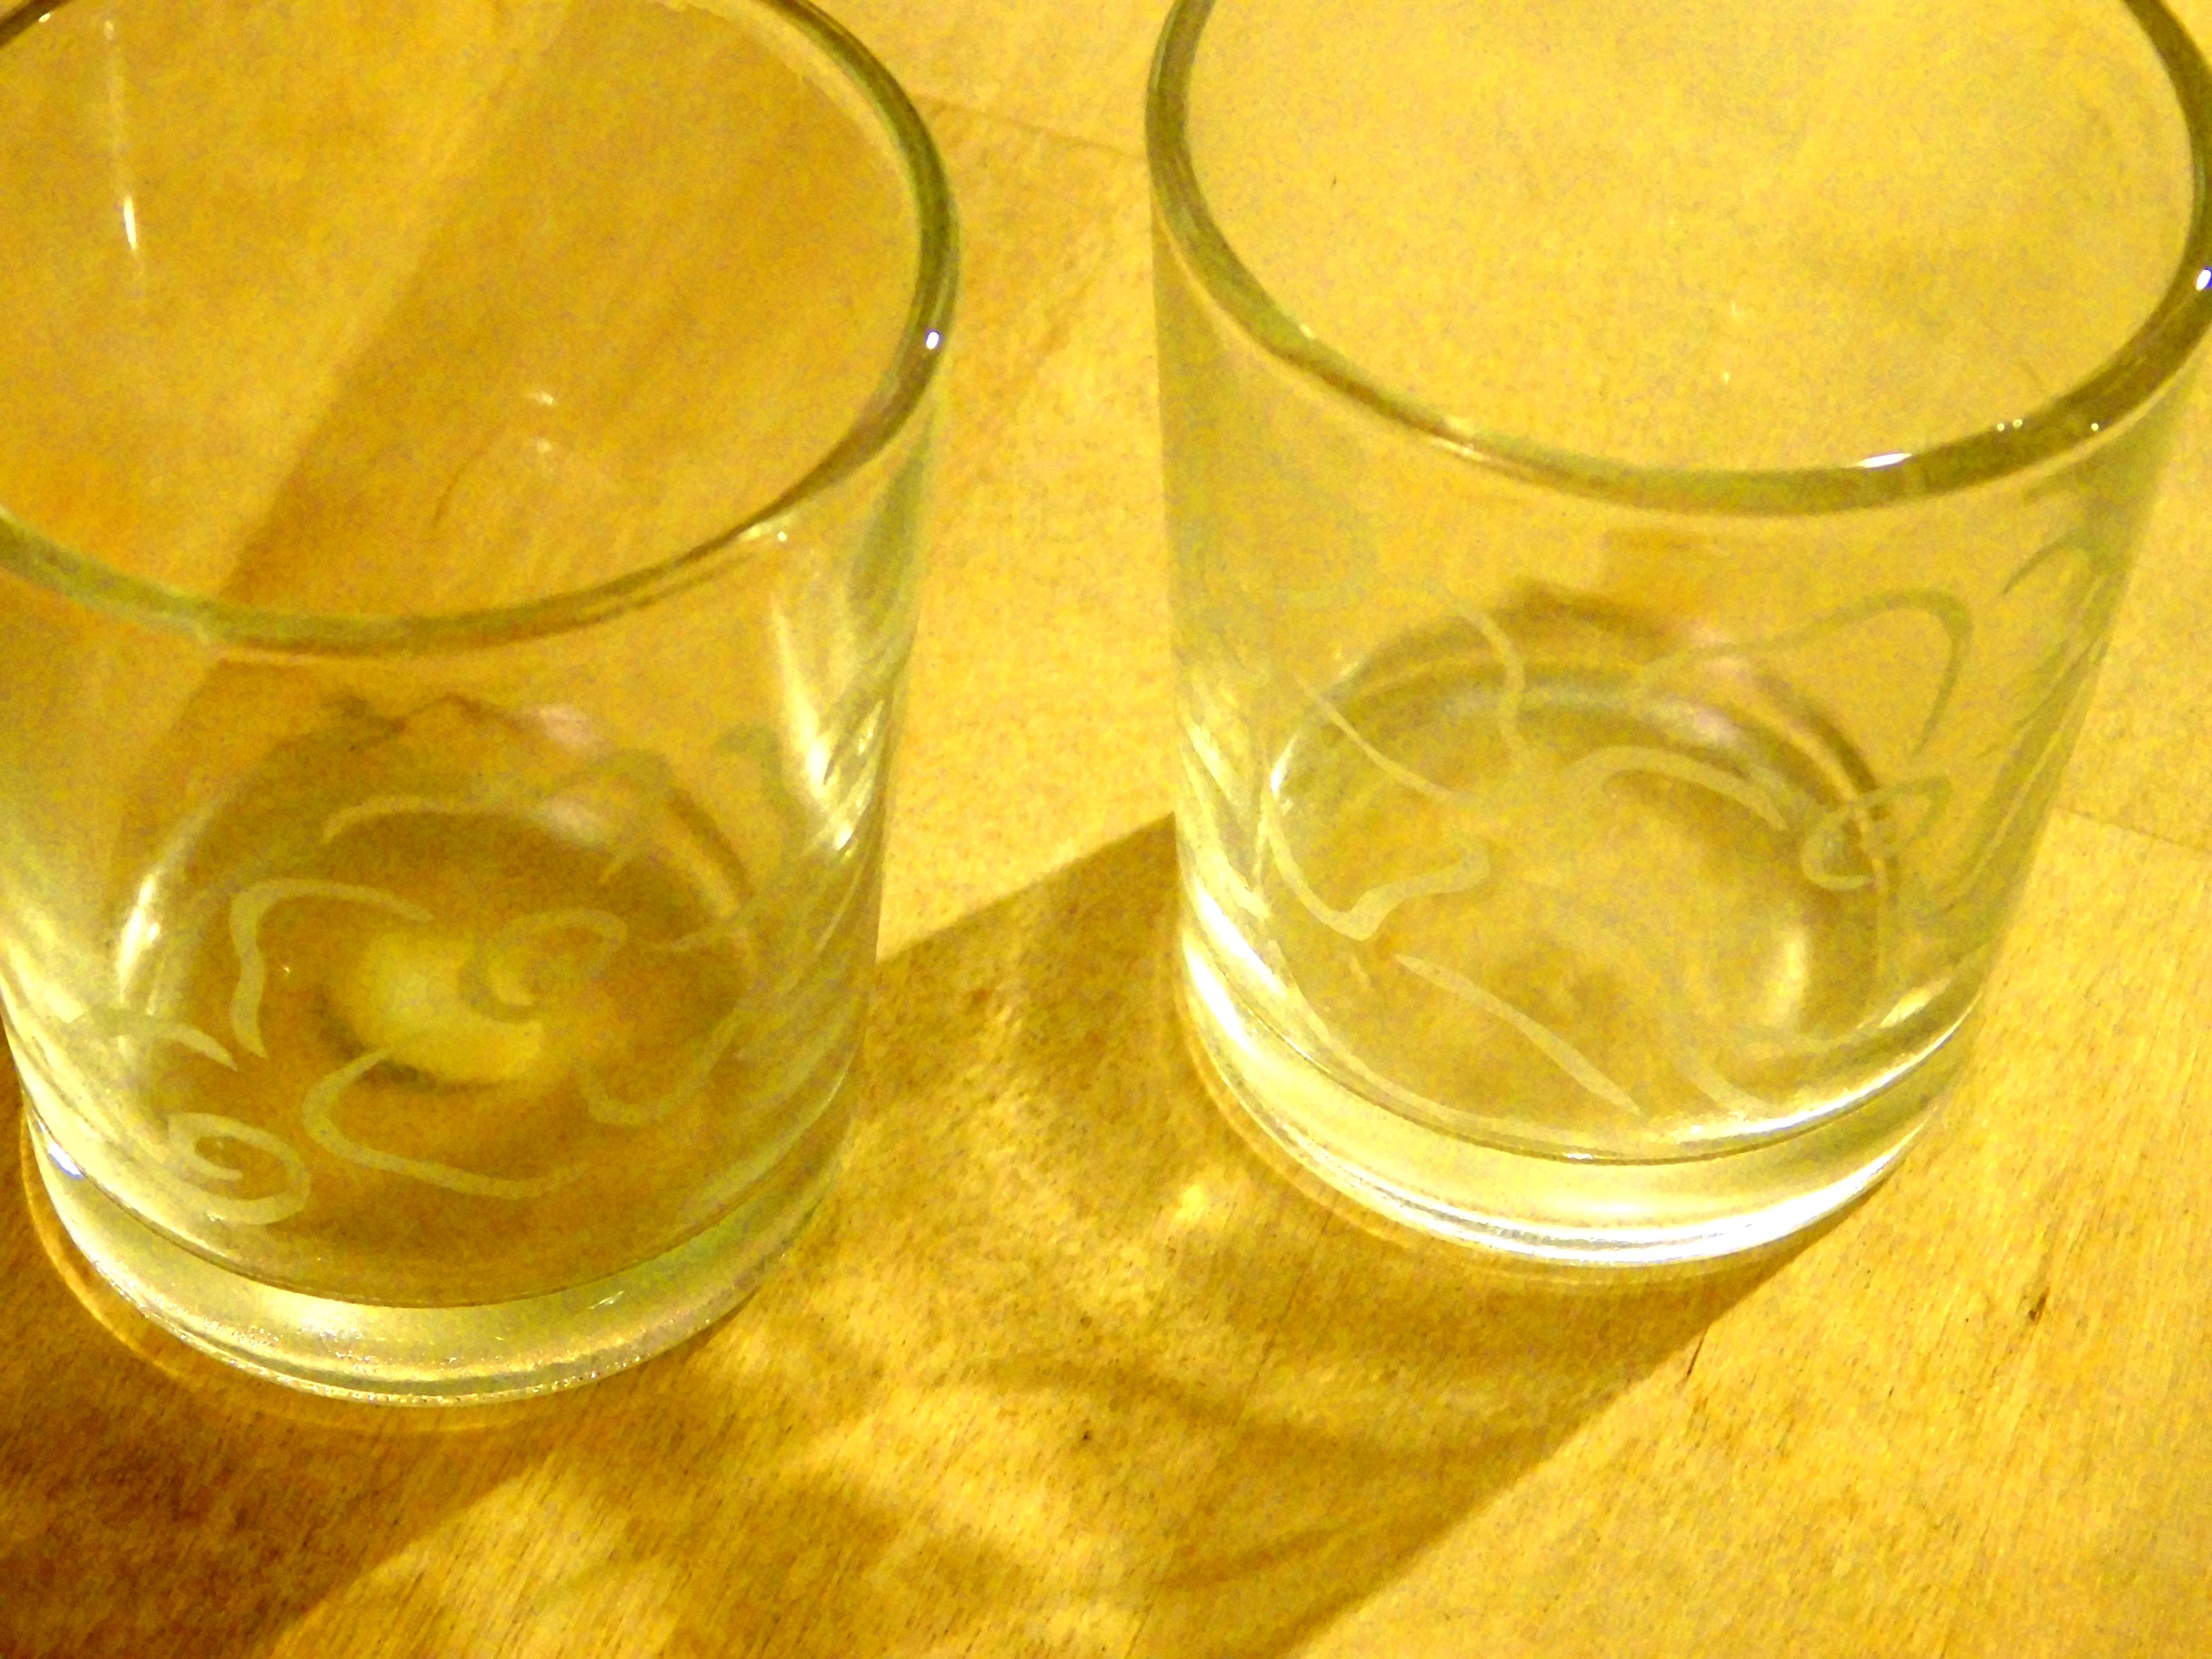


I am really happy with how they turned out! I love being able to personalize the decor in our home!
What do you do to bring your personality into your home? Do you like adding your own touches and DIY decor projects?

I’ve never tried etching glass, it looks like fun and turned out so pretty!
Jenna
LikeLike
Thanks you Jenna! It really is fun and I love how it turned out. I have done it before, mostly monogramming for a couple Christmas gifts. This was the first time making my own design and now I can’t wait to do another!
LikeLike