
Can you believe that Christmas is just around the corner?! It’s such an exciting, yet busy time of year. Now, I don’t know about you, but I still have a bit of decorating to do. Ok, I still actually have a lot of decorating to do. It’s been a busy couple of weeks! So, if you still have a little decorating to do, or even if you don’t, you might enjoy this quick and easy Christmas DIY!
Materials not shown in the picture:
- hot glue gun
- scissors
- red beads (or other decorations you may want to use)
Steps not show:
- I cut down two of the cones with a serrated kitchen knife, so the trees would be 3 different sizes.
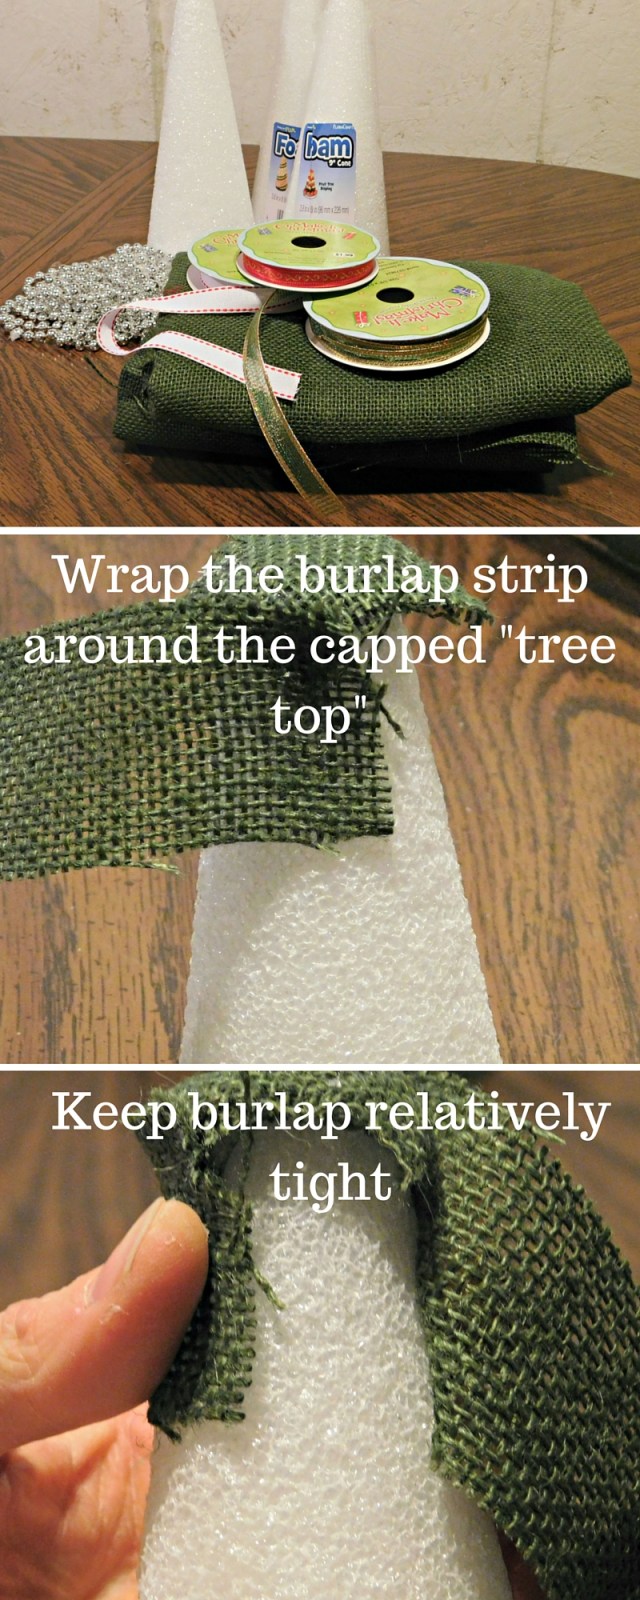
- The cap for the tree was two squares of burlap glued on the top, overlapping.

Step not shown: Trim off any frayed parts that are sticking out more than you want them to. It’s burlap, so it’s going to have “unraveled” bits either way, but you can clean it up some once the tree is completely covered.

After I had put on the silver garland, I decided I wasn’t a big fan of the ribbons I had originally thought to use. Instead, I added some red beads to imitate ornaments. I love how this turned out!


And that’s it! This project didn’t take much time at all to finish and is the perfect addition to my snowman collection!
Have you made any new decorations for Christmas? Are you all done decorating, or do you still have some left to do? I’d love to know your thoughts!

